Table of Contents
Mastering Excel: A Step-By-Step Guide On How To Create Invoices Bill Like A Pro
You’ve entered the door of financial freedom! Let’s take a realistic look at invoices and explore how you can use the powerful tool of Microsoft Excel to create a professional Invoice Bill. Time is of the essence in business. Learning how to make an invoice bill with Excel isn’t simply a skill, it represents strategic know-how as well. Whether you’re an experienced entrepreneur wanting to simplify your own financial procedures, or a young artist trying to make it big in the business world, this guide is meant only for you. Microsoft Excel, with its plethora of functions and capabilities is your canvas we reveal the secrets to perfecting a professional invoice bill. We offer a paperless solution to invoicing headaches, by taking the guesswork out of financial management.
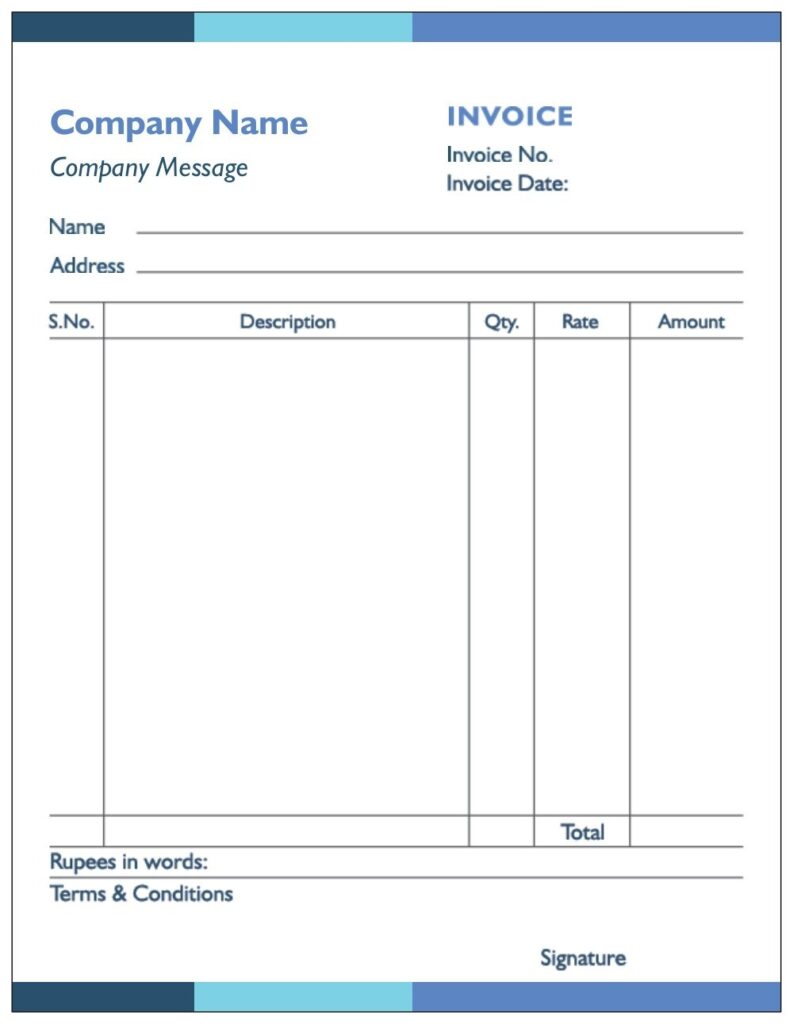
Excel Invoice Bill Design Hacks for a Professional Look
In this guide, we will reveal some very simple tricks for creating beautiful designs in Microsoft Excel to help your bills look even more professional. You’ll learn how to alter fonts, colors and layout with a flick of the wrist so that your invoices will convey not just financial information but also visual interest. Thus, from matching everything up to selecting formatting formats, we’ll show you step-by-step methods for bringing the appearance of your Excel invoice bills more in line with what is expected from a real business–smooth and professional looking. It’s time to take a stand and prepare invoices that will really get your clients talking.
Let’s Understand First What is Excel Invoice Bill
Excel Invoice Bill is your golden key to financial elegance and business prestige. Can you picture a live document, created easily within Microsoft Excel that invisibly accompanies all your company’s exchanges of value? But it’s not only a bill. It is canvas and canvas in the sense that numbers tell a tale of professionalism and attention to detail. Put the might of Excel Invoice Bills to work and you can easily display your brand in style. Take business to a new level, and make an impression on clients with invoices that shout your dedication to quality.Key Points of Excel Invoice Bill Hacks
-
Effortless Elegance:
-
Layout Perfection:
-
Branding Integration:
-
Time-Saving Design Hacks:
-
Client Impressions:
-
Professionalism Personified:
-
Brand Consistency:
-
Visual Storytelling:
-
Business Differentiation:
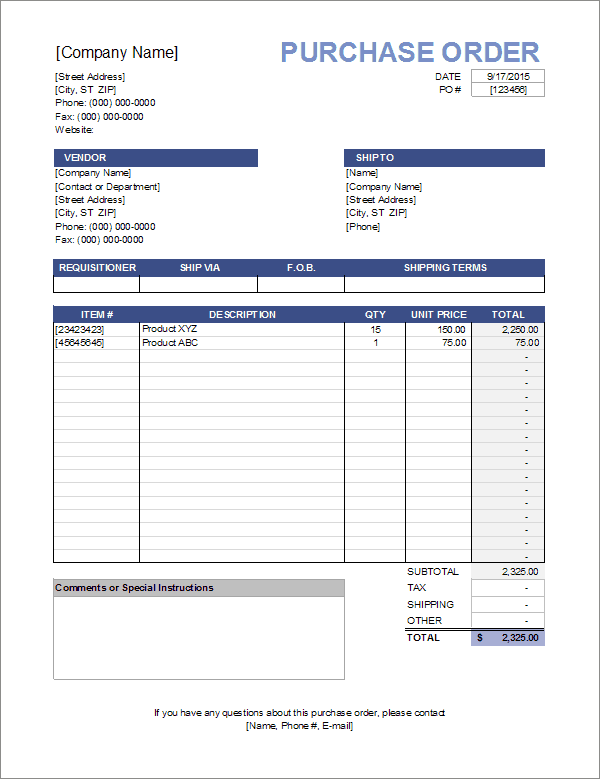
How To Create Invoice in Excel?
Using the step-by-step instructions on this page, you can transform generic numbers into beautiful communication aimed directly at your Advisor.Step-by-step instructions to Create Invoice Bills in Excel
Step 1: Launch Excel Magic Fire up Excel and a new workbook opens your canvas of financial splendor is now ready. Step 2: Set the Stage with Headers- Designate areas for essential details:
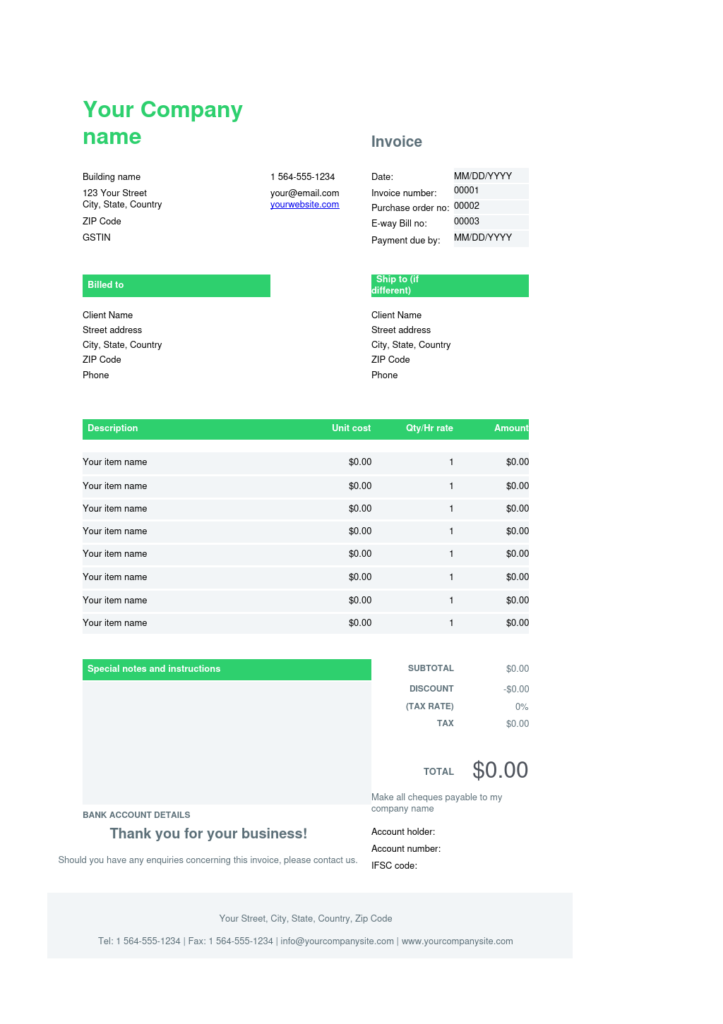
How To Create Bill in Excel?
To Create an Effective bill in Excel, you can follow these steps:
- Open Excel:
- Create a New Worksheet:
- Header:
- Billing Information:
- In cell A3, enter “Bill To: Enter customer details (name, address and so on) under it.
- In cell F3, enter “Ship To: If shipping information differs from that on the bill, enter.
- Table for Items:
- Add Sample Data:
- Calculate Totals:
- Apply Formatting:
- Discount Section:
- Payment Information:
- Footer:
- Save and Print:
Conclusion
Business is business, but when it comes to issuing an invoice you’re not just letting your backers know how much they owe; you also need to prove that top-of-the-line professionalism. With that, we wrap up our series on how to make your invoices without any booking-keeping software. Microsoft Excel is not just a tool that can also be put to use refining and expressing the unique character of a business. In other words, Excel is more than a spreadsheet program like software that can turn billing into art. But from the first impression made through a strong sense of business identity to small touches in the footer that encourage recipients’ appreciation, all have their part to play in creating an invoice whose quality puts forward its message. Also Read: Mastering Your Finances: The Ultimate Tax Invoice Format Guide for Word and Excel Also, Listen on YouTubeFAQ
-
What is the Excel method for a simple invoice?
-
Do you know how to insert a logo into my Excel invoice?
-
How does an Excel invoice calculate totals and taxes?
-
What is the proper way to present currency and date on the invoice?
-
How can one make an invoice number automatic in Excel?
-
What’s the best way to avoid having someone accidentally erase my Excel invoice?
-
Is it possible for me to add terms and conditions to my Excel invoice?
-
But what if you need to write up an invoice form for next time?
-
What’s the best way to make my Excel invoice look prettier?
-
Is it possible for me to add notes or comments for some of the items on my Excel invoice?